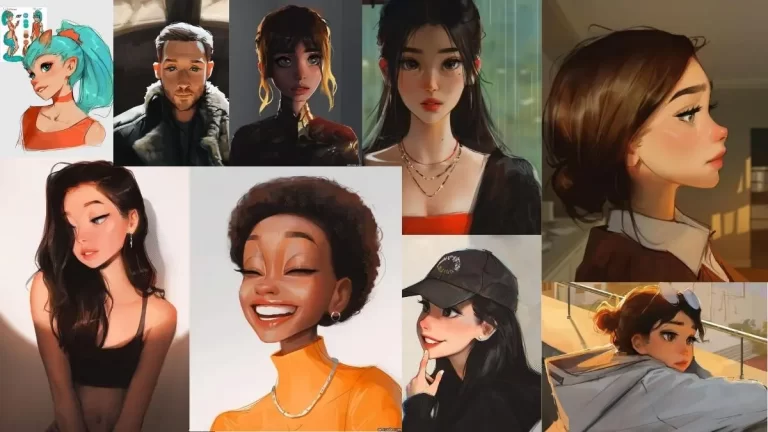
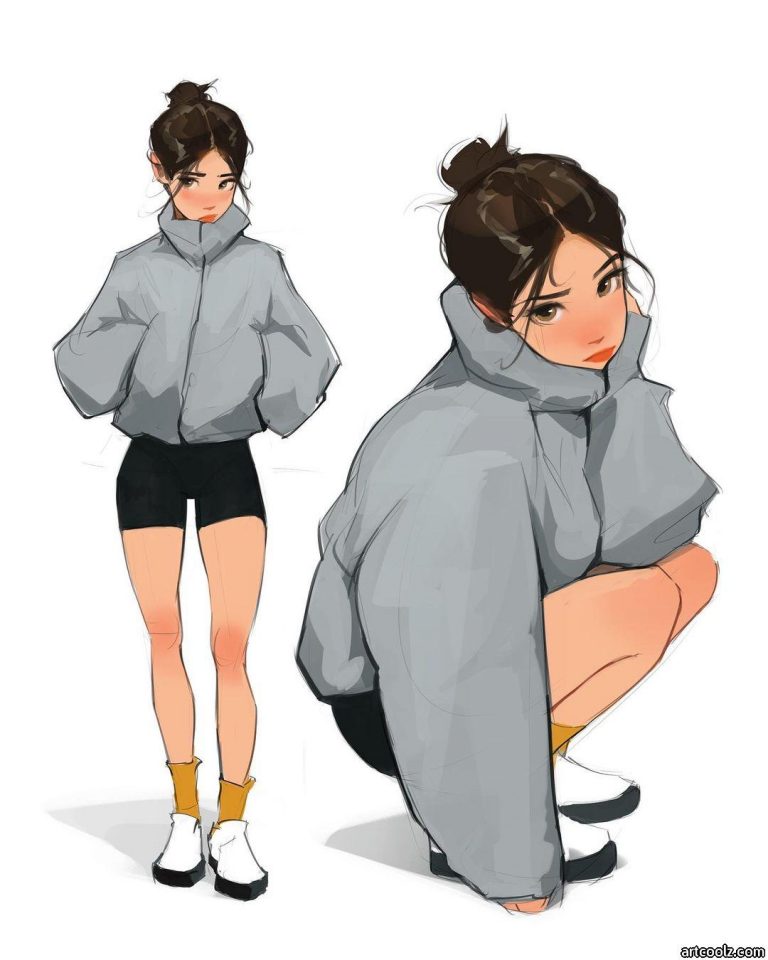
Original Ideas and Techniques
For Easter Eggs
Maundy Thursday is coming soon.Then is the time to dye the Easter eggs!It’s a lot of fun to conjure up something colorful out of the white eggs.The children look forward to Easter the most.Let the little ones take part in the coloring.Although that means they get dirty, coloring eggs is a memorable experience.You also want to have the most beautiful Easter eggs.Read on to learn some clever techniques for coloring Easter eggs.
What is Easter without coloring Easter eggs?
Here’s a tutorial on how to naturally color Easter eggs.In order to achieve the optimal coloring, you need white eggs.Otherwise you will not create the desired effect.A spoonful of vinegar is an important part of the color process.This will discolor the eggshell and absorb the natural color more easily.Prepare a bowl for each individual coloring.Let the eggs stay in the mixture all night.This is how you end up with colored eggs.You need different products for each color:
Coloring Easter eggs naturally
- For the red oneColor – boiled beetroot.Fill the bowl with the water in which you boiled the piece.Let it cool down a bit.Add the eggs and vinegar without removing the beetroot.
- Yellow color – Pour the eggs with a mixture of vinegar, water and 1 tablespoon of turmeric.
- Orange – addAdd onion peels to the boiling water.Let the mixture steep a little.Then color the eggs.Don’t forget to add a spoonful of vinegar.The water doesn’t look that well colored, but the end product is guaranteed.Do not remove the shells while you are coloring the eggs.
- Blue – Steamer a few leaves of red cabbage.Let the liquid cool down a bit.Add the leaves, a spoonful of vinegar and the boiled eggs.The red cabbage should stay in the shell so that the eggs absorb the color.
- Purple color – Deacon radish.Leave the bowls or slices in the boiling water for a few minutes.Wait for the mixture to cool down.Add eggs and vinegar.
- Green – Spinach.Add soft boiled spinach leaves to the water.Another variant is to let the eggs dye overnight in a mixture of yellow and blue.
Choose colorful cotton threads for these Easter eggs
Decorate eggs with cotton thread
- Cotton thread
- vinyl glue
- hard-boiled eggs(of course)
For this decoration you need thick cotton threads in different colors (those for sewing) and vinyl glue.After you’ve hard boiled the eggs, apply a layer of vinyl glue and start wrapping string around the egg.Combine different colors and nuances.Let the eggs dry well.
Unfortunately, they are not suitable for eating
Making Metallic Easter Eggs – DIY Instructions
Before we go any further, we have to say something important: Because you are using spray paint here, these eggs are not suitable for eating, but only as decoration!You can also make the eggs either in the garden, on the patio, or in a well-ventilated room.What do you need:
- white eggs (in this case you can also use plastic ones)
- 3 different spray colors (copper, gold and cappuccino beige) – of course you can also use othersChoose colors
- Chalk marker in white
Spray the eggs with different spray colors
- Give each of the plastic eggs a nice coat of spray paint.Spray the eggs until the cover is even and thick enough.
- Place the eggs on an egg carton and let them dry well.
- Once the eggs are dry, you can take them with youdecorate with the marker.Draw lines, dots or small crosses.You can also make small flowers and other patterns.
- Let the marker dry and it’s ready!
So shiny!
Coloring Easter eggs – with gold paper
Here is another idea for golden eggs.While the previous instructions are only suitable for decoration, you can also use real eggs here.This variant can be made faster and is a good alternative to the colors.If you choose artificial eggs, they will stay there for the next year!The necessary materials:
- Gold leaf
- Application milk for gold leaf
- Brushes of different sizes
- Fluffy brush (you can use a powder brush)
Wrap the eggs in gold leaves
Here’s how:
- Cross that outEgg with a layer of milk to put on.Start with a thin layer, adding more gel if necessary.
- Let the glue dry for 1-2 minutes.
- Carefully apply a gold leaf to the gel.This will give you even coverage.
- Polish the egg with the fluffy brush by removing the remaining gold leaf.Be very careful not to remove too much.You should get a smooth surface.
Remove the unnecessary material with a brush
5. If you are polishingsome sections have been peeled off, brush off some additional milk and place a new sheet of gold leaf on top.6. Once the eggs have dried out, use a thin brush and draw small patterns or words on the egg.Use acrylic paints for this.Another variation on these eggs is to create only small, detailed patterns with gold leaf.Use a small, thin brush to create different motifs with the glue on.The key here is to find a brush that is delicate enough to create thin lines with the glue on.Let the milk dry before adding the gold leaf.
You can also use real eggs
Decorate eggs with watercolors
These pastel colored eggs are abstract and look very original.Use white eggs as the water color will look better.What you need:
- Liquid food coloring
- Disposable cups
- Brushes
- Black felt pen
This technique is actually very simple and looks really unique
- Drop in approx. 10 mlWater 20 drops of paint.Mix well with a spoon.
- Start with a large blob of paint that you make with a brush.Don’t cover the whole surface.
- Make another blob.Notice that the lower patch will be lighter.
- Choose a color (e.g. yellow) for the flower.Make another splash of color in the middle.Next, take your original paint and paint a blob of paint partially over your new colors.This layering process makes the shape look more like a flower and petals.
- Let the paints dry well, then use the felt pen to draw small petals (as in the photo).
- You canpaint the petals with green paint.
Another idea – use watercolors to color Easter eggs
Coloring marble Easter eggs – with nail polish
In addition to being quick and easy, this color method is also clean.Therefore an excellent craft idea for your children.For these eggs you need:
- a large bowl of lukewarm water
- nail polish in the colors of your choice
- toothpicks
- egg carton or paper towel
Tip: The eggs should be cool.You should also work quickly but carefully with the nail polish.
A simple way to paint Easter eggs
This is how it works, step by step:
- Use the nail polish brush to drip a few drops of paint about 2.5-3 cm from the surface onto the water.While lowering the egg further into the water, roll the egg so that the nail polish adheres to all sides of the egg.
- If you want a more saturated color, you can repeat the previous steps.
- Then let the eggs dry on an egg carton or cloth.
With whipped cream you get unique patterns
Coloring eggs with whipped cream
Have you heard of the color technique with shaving cream?Here is an “edible” variant with whipped cream.In contrast to the first technique, this is harmless even for small children.You need:
- hard-boiled eggs (cool)
- whipped cream
- large baking tray
- gel food coloring
- vinegar
And they are edible
Instructions:
- Leave the eggs for at least10 minutes in a bowl with vinegar.
- Put the whipped cream in a tray and spread it evenly.
- Drip different colors on top and mix well.
- Dip the egg in it.Use a spoon and cover the egg with a thick layer of cream.Leave it in for about 15 minutes.
- Fill a small bowl with water.Gently dip the egg in it and rock it around.Do not rub off the excess whipped cream.
- Place the eggs in an egg carton and let them dry well.
Unique Easter eggs
Painting Easter Eggs – Shibori Style
Shibori is a beautiful Japanese indigo dyeing technique.This color variant is not the authentic Shibori, but only an optical similarity.What you need:
- hard-boiled eggs
- blue food coloring
- vinegar
- white coffee filters
- small rubber bands
- Kitchen twine
- Paper towels
- Glass bowl
- Scissors

- Prepare the paint.Pour about 3 cups of water into the bowl and drip 12 drops of food coloring into it.Add 3 tablespoons of vinegar.Use one tablespoon of vinegar for each cup of water.
- Wrap each egg in a coffee filter and tie it tight with elastic.
- Tie the kitchen thread around the elastic and wrap the stringin fairly even patterns around the egg.After you’ve circled the egg once with the string, wrap it around your ponytail as well.
- Dip the eggs in the bowl and leave them there for 30 minutes.
- Take thisEggs out.Stir until the mixture becomes a pasty consistency.Repeat with all the colors you want.
- Place the eggs in the muffin pan.Use the brush to decorate the eggs with the paste colors.Put on the rubber gloves to protect your hands.
- You can add extra food coloring for even more saturated, vibrant colors.
- Once the eggs are colored, use an eyedropper to stir a littleDrip vinegar on it.
- When the baking soda has dissolved, dip each egg in the water, then peel off the gum cement to expose the white areas.
Drip a little vinegar on it
Coloring Easter eggs – with tissue paper
Do you want eggs quickly and easilyto dye?This is a technique that guarantees beautiful end products in just a few steps.
You need:
- Boiled eggs
- Tissue paper in different colors
- Squirt Bottle
Smart Techniques for Coloring Easter Eggs
Procedure:
- First cut the tissue paper into small pieces.Use only high-quality pieces of paper, otherwise you cannot transfer the pattern to the eggs.
- Second, sprinkle the eggs with water.
- Third, wrap the eggs with bits of paper.
- Finally, inject a little more water.
- Let the eggs dry for about 10 minutes.
- When you remove the tissue paper, you get the end product!
Cool Emojis
All you need here is a black felt-tip pen
Funny Easter Eggs
A Japanese Technique for Coloring Eggs
Now we are introducing a clever technik how to color Easter eggs naturally.
Everything you need:
- tights
- leaves
- food coloring
Instructions:
- First you collect interesting leaves.That way, the leaves won’t move while decorating.
- Dip the eggs in food coloring.
- When the Easter eggs are well colored, remove the tights.The leaves are stamped.
Coloring Easter eggs with leaves
How do you create these ombre eggs?We give you step-by-step instructions!
Everything you need:
- food coloring
- foil
- a cup
Procedure:
- First cut a ring out of foil.
- Then mix one part of food coloring with two parts of water.
- Let the egg color for about 10 minutes.
- Then fill the container until the egg is covered.
- 10 more minutes and you have an ombre egg!Repeat the project with as many colors as possible.
Step-by-step instructions
A basket full of eggs
Easter eggs with spots
Painting Easter eggs – the technique with rice
Eggs that are real objects of art
A nest full of eggs
Colorful eggs
EnjoyOur further suggestions
Easter is associated with many customs and traditions!
These eggs are real eye-catchers
There are numerous techniques for coloring eggs!
The colored eggs are a delight for the eyes
Pictures on Easter eggs
Some more clever techniques
Beautiful Easter eggs